Your Cart (0)
Your cart is empty
Free express shipping
Drawer menu
Free express shipping

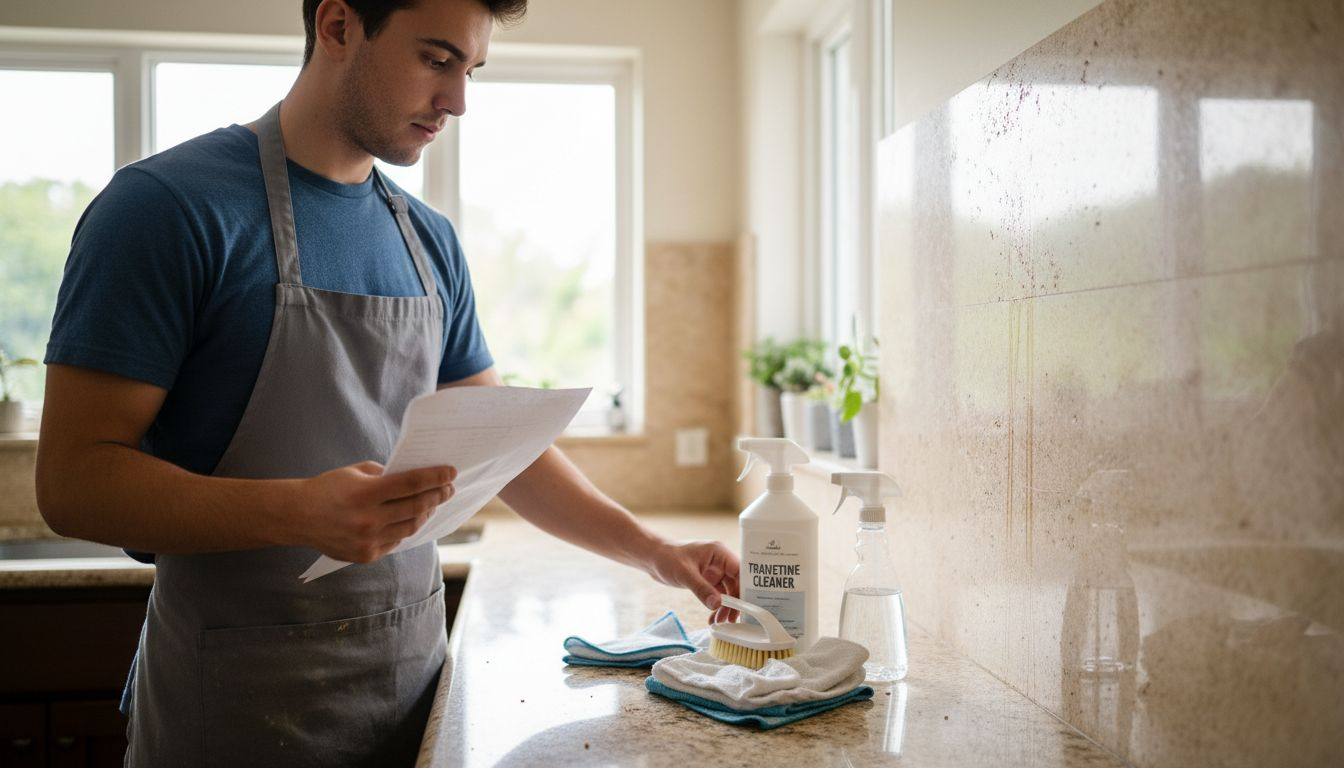
Luxury interiors lose their allure when travertine pieces show dull marks, stains, or unexpected surface damage after just a few months. For American designers working in high-end homes, the challenge lies in protecting these natural accents while minimizing disruption. With travertine’s porous surface and veining making it especially vulnerable, a precise, efficient workflow is essential. This guide provides actionable steps and expert insights for keeping travertine decor pristine, strengthening your project’s value and your client relationships.
| Key Insight | Explanation |
|---|---|
| 1. Thorough assessment is crucial | Evaluate the travertine condition to identify damage and prioritize maintenance requirements. This saves resources down the line. |
| 2. Use appropriate cleaning products | Select pH-neutral cleaners that protect travertine, avoiding acidic or abrasive options that can cause damage. |
| 3. Implement systematic cleaning | Follow a structured cleaning process to remove grime effectively while maintaining the stone’s integrity. Thorough drying is essential. |
| 4. Apply sealant for long-term protection | Choose a suitable sealant type based on project needs; this dramatically enhances travertine’s durability and stain resistance. |
| 5. Document maintenance results | Keep detailed records of work conducted and observations to help guide future care, ensuring lasting client relationships and quality assurance. |
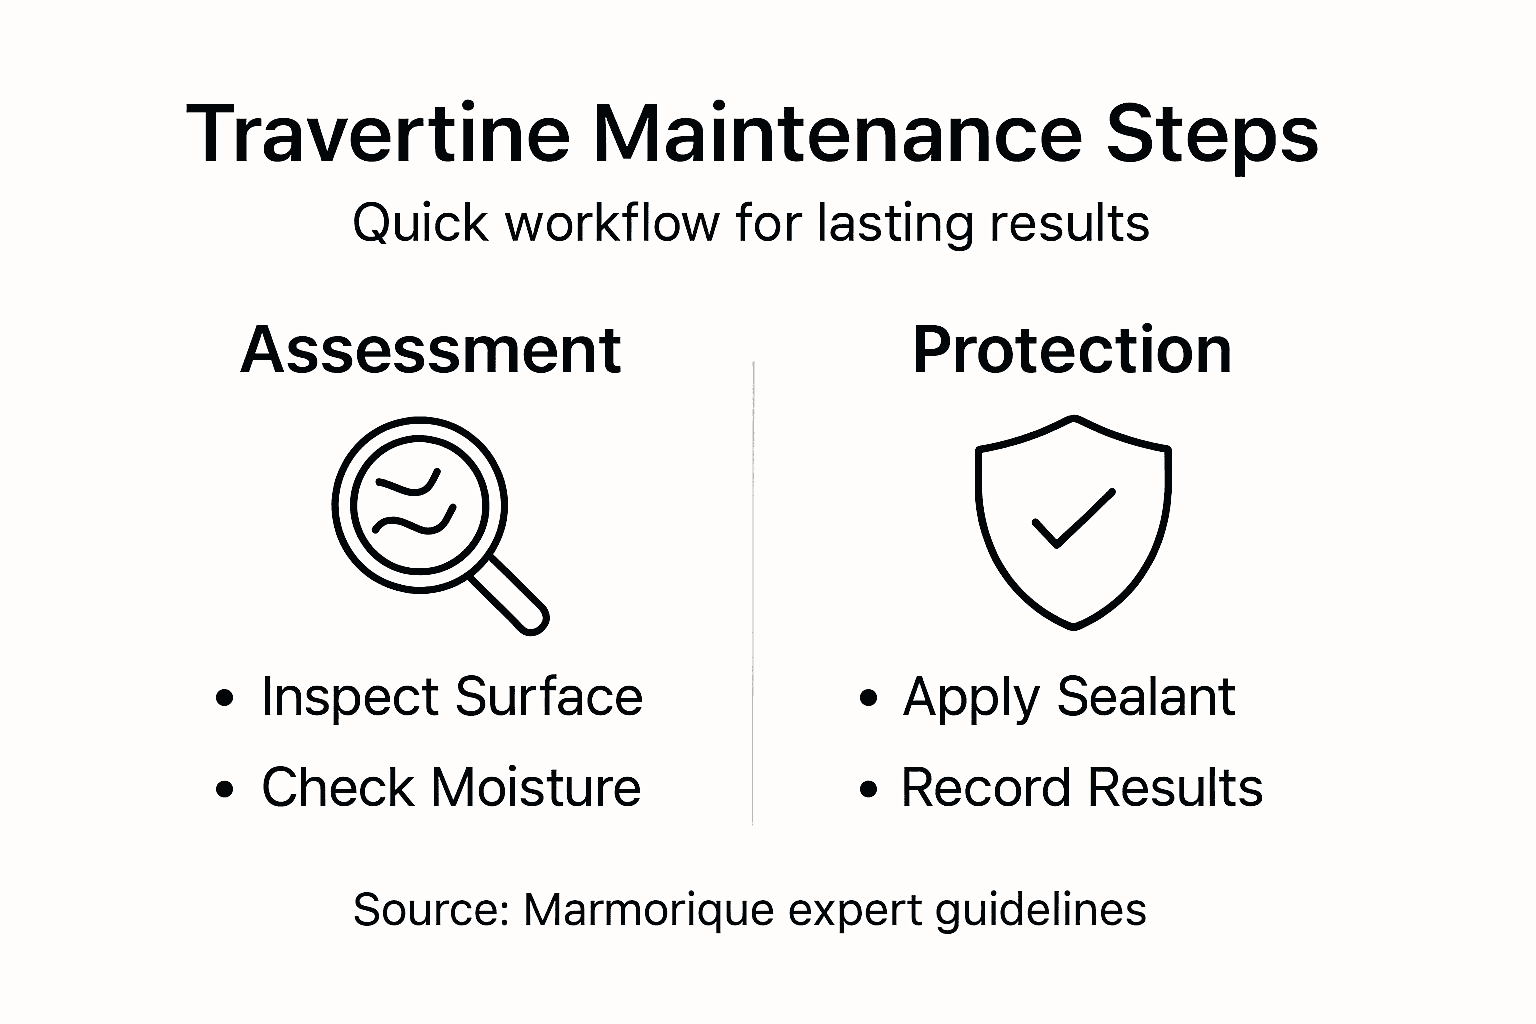
Before you develop any maintenance plan, you need a clear picture of what you’re working with. A thorough assessment identifies existing damage, determines traffic patterns, and reveals which pieces need immediate attention versus preventive care. This upfront evaluation saves time and money by targeting your efforts where they matter most.
Start by examining the piece in natural light. Look for visible damage that indicates the scope of work ahead.
Travertine’s porous surface and natural veining make it vulnerable to various forms of damage, so don’t overlook subtle signs. Run your hand across the surface to feel for rough patches or texture changes that the eye might miss.
Next, consider your client’s lifestyle and the piece’s location. A travertine side table in a high-traffic entryway faces different challenges than a bathroom accent. Document traffic patterns, humidity levels, and exposure to direct sunlight or water. Pieces near kitchen counters or bathrooms require more aggressive protection against spills and moisture.
Take photos from multiple angles and make detailed notes about condition. This documentation becomes your baseline for tracking progress and justifying maintenance recommendations to your clients. You’ll reference these notes when planning your cleaning strategy and sealing schedule.
Understanding your travertine’s condition upfront determines whether you need deep restoration, regular maintenance, or preventive protection moving forward.
Pro tip: Use a moisture meter on travertine pieces located in bathrooms or kitchens; elevated moisture levels demand sealed surfaces and more frequent inspections to prevent water damage and mold growth.
Gathering the right supplies before you start makes the difference between a successful maintenance session and potential damage. Travertine demands gentle care, so selecting appropriate products is non-negotiable. You’ll need cleaning agents, application tools, and protective treatments that work together as a system.
Start by understanding what travertine requires. pH-neutral cleaning products protect the stone’s surface, while acidic or abrasive cleaners cause etching and permanent damage. This is where many designers go wrong, using household products that seem logical but wreak havoc on natural stone.
Build your toolkit with these essential items:
You’ll also want specific cleaning products designed for travertine maintenance, not generic stone cleaners. Professional-grade options ensure consistent results across your client projects.
Protective treatments form the second layer of your preparation strategy. Water-repellent sealers prevent moisture and oil stains from penetrating the stone while maintaining its natural breathability. Apply these after cleaning to maximize their effectiveness.
Store all materials in designated containers away from client spaces. Organize by purpose: cleaning supplies in one area, protection products in another. This prevents cross-contamination and makes your workflow efficient.
Quality materials cost more upfront but protect your clients’ investments and reduce callbacks by preventing future damage.
Pro tip: Test any new cleaning product on an inconspicuous area first; even pH-neutral formulas can react differently depending on travertine’s origin and mineral composition.
Proper cleaning technique protects travertine while removing dirt, stains, and buildup effectively. You’ll follow a systematic approach that combines preventive maintenance with targeted deep cleaning when needed. The goal is removing surface contamination without compromising the stone’s integrity.
Begin with the simplest step: daily debris removal. Sweep or vacuum regularly to eliminate loose particles that scratch surfaces when you walk on them. This foundational habit prevents grit from becoming embedded in travertine’s porous structure.
When you’re ready for active cleaning, follow this sequence:
For stain removal, use gentle poultices and specialized cleaners rather than harsh chemicals. Target stains quickly before they set, but avoid scrubbing aggressively. Oil stains respond to specific treatments, while water rings require different approaches. Professional-grade products designed for travertine handle these situations more effectively than improvised solutions.
When cleaning grout lines and cavities, apply diluted solutions carefully to avoid excess moisture penetrating the stone. Water sitting in crevices causes mold and mineral deposits. Always finish by drying surfaces thoroughly. A squeegee followed by towel drying prevents water spots and mineral residue.
Work systematically across the entire piece rather than randomly. This ensures consistent results and helps you spot damage patterns you might otherwise miss.
Thorough drying is non-negotiable; moisture left on travertine leads to staining, efflorescence, and long-term damage that’s expensive to repair.
Pro tip: Create a cleaning schedule that matches your client’s traffic patterns; high-use pieces need weekly attention while decorative accents in low-traffic areas may only require monthly cleaning.
Sealing travertine is the critical step that transforms temporary cleanliness into lasting protection. A quality sealant blocks water, oil, and stains from penetrating the porous stone while preserving its natural appearance. This investment in protection prevents expensive restoration work down the road.
Before you apply anything, ensure the surface is completely clean and dry. Any residue or moisture trapped under the sealant compromises its effectiveness. Allow at least 24 hours of drying time after your final cleaning rinse before proceeding.
Choosing the right sealant type matters significantly for your project goals. You have three primary options to consider:
Penetrating sealers are preferred for preserving travertine’s natural beauty while delivering long-lasting durability. Most luxury design projects favor this approach for its authentic finish.
Here’s a quick comparison of the primary travertine sealant types and their uses:
| Sealant Type | Appearance Impact | Durability | Ideal For |
|---|---|---|---|
| Penetrating Sealer | Maintains natural look | Long-term protection | Most residential applications |
| Enhancing Sealer | Adds subtle luster | Moderate to long-term | Highlighting color variations |
| Topical Sealer | Slight surface change | Short to moderate term | Fast updates, non-critical areas |
When you’re ready to apply, follow these steps for consistent coverage:
Application technique demands thin, even coverage with appropriate tools to maximize protection and appearance. Weather conditions matter too. Apply sealers in moderate temperatures with low humidity for optimal curing.
Don’t rush the curing process. Premature exposure to moisture or traffic undermines the sealant’s protective properties and wastes your effort.
The sealant is only effective if applied correctly and given adequate curing time; rushing this step creates a false sense of protection.
Pro tip: Schedule sealing appointments during off-peak seasons when your clients can keep high-traffic pieces undisturbed for 48 hours; this guarantees complete curing and maximum protection.
Documentation transforms your maintenance work from a one-time service into a long-term strategy that protects your client relationships and your reputation. Recording what you’ve done, what you observed, and how the travertine responded creates a valuable baseline for future decisions. This systematic approach demonstrates professionalism and builds trust.
Start your inspection immediately after the sealant has fully cured. Examine the entire piece under natural and artificial lighting to catch any issues you might have missed during application. Look for uneven coverage, drips, or areas where the sealant didn’t bond properly.
Evaluate these key aspects of your work:
Scheduled inspections detect early signs of damage and evaluate sealant performance so you can address problems before they escalate. This proactive approach prevents costly restoration work and maintains the luxury appeal your clients expect.
Create a maintenance record that includes before and after photos, dates of service, products used, application method, and your observations about the results. Note any areas of concern for future follow-up. Include environmental conditions at the time of sealing (temperature, humidity) since these affect performance.
Refer to this table for a summary of maintenance documentation essentials:
| Record Element | Why It’s Important | Example Detail |
|---|---|---|
| Before/After Photos | Prove effectiveness visually | Stain removal evidence |
| Products Used | Track performance and reactions | Brand, dilution ratio |
| Application Method | Ensure repeatable results | Rolled vs. sprayed |
| Service Date | Schedule future check-ups | May 12, 2024 |
| Observations | Monitor progress or concerns | Water spots, color change |
Share this documentation with your client. Explain what protective measures are now in place and outline a recommended maintenance schedule for the coming months and years. This transparency helps clients understand the value of what you’ve provided.
Detailed documentation of maintenance history guides future decisions and proves the value of preventative care to your clients.
Pro tip: Create a digital filing system organized by client and property; include maintenance records, warranty information, and product details so you can quickly reference this data when planning follow-up visits or addressing client concerns.
Maintaining the lasting luxury of your travertine pieces requires a thoughtful approach that addresses challenges like surface scratches, stains, and moisture penetration. The detailed maintenance workflow stresses the importance of using pH-neutral cleaners, proper sealing techniques, and consistent inspection to protect porous natural stone. If you are dedicated to preserving the elegance and durability of your travertine furniture and decor, choosing authentic, high-quality stone products crafted for long-term beauty is the first step.

Explore our Travertine Collection – Marmorique to find exquisite artisanal pieces designed with natural stone craftsmanship. Complement your care routine with our curated Bathroom Sets – Marmorique and Decorative Trays – Marmorique to elevate your interior space with timeless stone accents. Visit Marmorique now and invest in luxury decor that invites both beauty and resilience into your home. Start protecting your stones with premium designs and expert craftsmanship today.
Before starting maintenance, examine your travertine decor for visible damage, such as scratches, stains, and dull patches. Take photos and make detailed notes to document the current condition and establish a baseline for future maintenance tasks.
Use a pH-neutral cleaner specifically designed for travertine, and apply it with soft cloths or brushes. Clean the surfaces gently to avoid etching, and complete the process by thoroughly rinsing and drying to prevent moisture damage.
Choose a penetrating sealant for its natural look, and ensure the surface is clean and completely dry before application. Apply thin, even coats, allowing adequate drying and curing time between applications to maximize protection.
Plan to inspect your travertine decor every 3 to 6 months to monitor its condition and evaluate the performance of the sealant. Regular checks help identify early signs of damage, allowing you to take action before costly repairs are needed.
Maintain a record that includes before and after photos, the products used, and detailed notes on application methods and observations. This documentation will guide your future maintenance decisions and showcase the value of your care for your travertine surfaces.


